GitHub Deploy
Toucan-based websites can be hosted for free using GitHub Pages. Follow these steps to set up your site.
Creating a repository for your site
You can either create a repository or choose an existing repository for your site.
If you want to create a GitHub Pages site for a repository where not all of the files in the repository are related to the site, you will be able to configure a publishing source for your site. For example, you can have a dedicated branch and folder to hold your site source files, or you can use a custom GitHub Actions workflow to build and deploy your site source files.
If the account that owns the repository uses GitHub Free or GitHub Free for organizations, the repository must be public.
If you want to create a site in an existing repository, skip to the Creating your site section.
- In the upper-right corner of any page, select
+, then click New repository.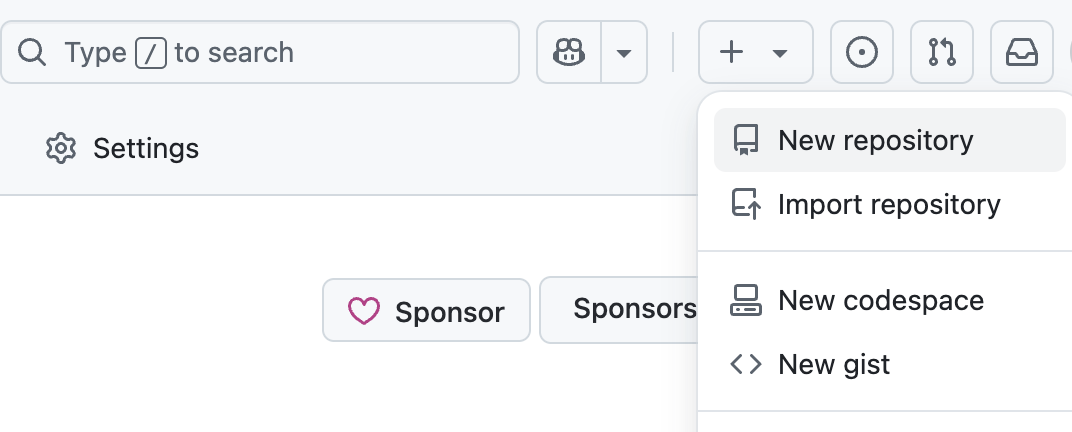
- Use the Owner dropdown menu to select the account you want to own the repository.

- Type a name for your repository and an optional description. If you’re creating a user or organization site, your repository must be named
user.github.ioororganization.github.io. If your user or organization name contains uppercase letters, you must lowercase the letters. For more information, see About GitHub Pages.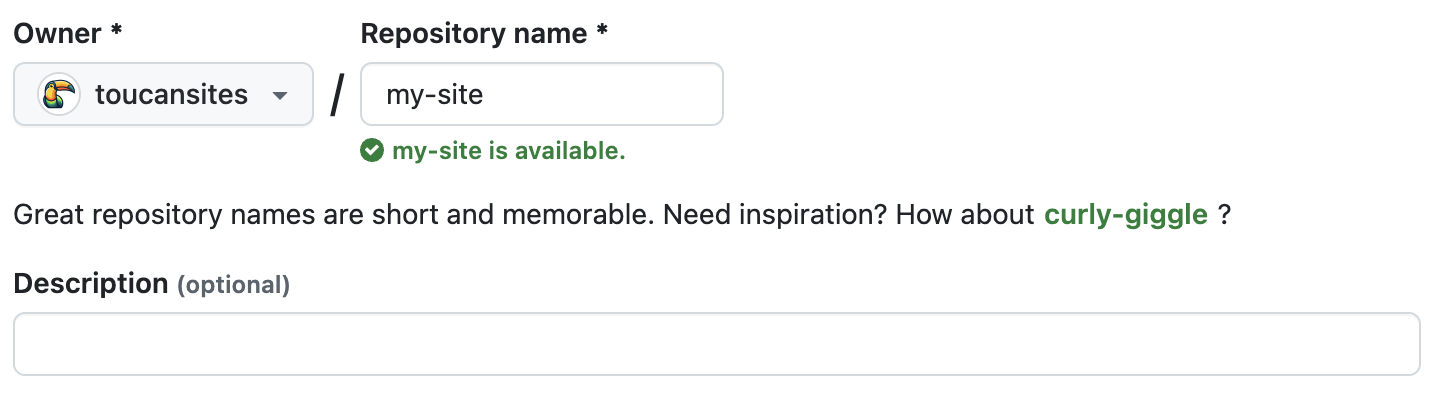
- For the repository visibility, choose public. For more information, see About repositories.
- Select Initialize this repository with a README.
- Click Create repository.
Add content to the repository
- Clone the Repository locally to your computer, if not already done:
git clone https://github.com/your-username/your-repository.git - Navigate to the local repository folder and copy the
srcfolder with all the content.
Use the generator’s serve command:
After succesfull generation all the data is generated inside thetoucan generatedocsfolder by Toucan. - Push all the content to GitHub, add and commit files:
git add .
git commit -m "Add generated site content"
git push origin main
Creating your site
Before you can create your site, you must have a repository for your site on GitHub. If you’re not creating your site in an existing repository, see Creating a repository for your site.
- On GitHub, navigate to your site’s repository.
- Under your repository name, click
Settings. If you cannot see theSettingstab, select the...dropdown menu, then clickSettings. - In the
Code and automationsection of the sidebar, clickPages. - Under Source, leave the option
Deploy from a branch.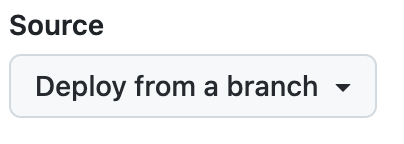
- Under Branch:
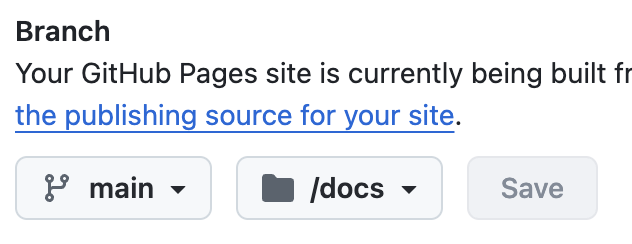
- Select the branch where you committed your files (e.g., main).
- Choose the /docs folder as the source.
- Click Save.
- Check the published site, GitHub will provide a public URL for your site, such as:
https://your-username.github.io/my-github-page/
Managing a custom domain
You can set up or update certain DNS records and your repository settings to point the default domain for your GitHub Pages site to a custom domain.
- On GitHub, navigate to your site’s repository.
- Under your repository name, click
Settings. If you cannot see theSettingstab, select the...dropdown menu, then clickSettings. - In the
Code and automationsection of the sidebar, clickPages. - Under
Custom domain, type your custom domain, then click Save. If you are publishing your site from a branch, this will create a commit that adds aCNAMEfile directly to the root of your source branch. If you are publishing your site with a custom GitHub Actions workflow, noCNAMEfile is created, so you need to create one manually (containing only a line of text with your custom domain).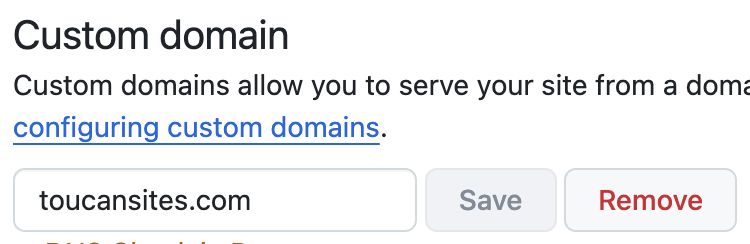
- Navigate to your DNS provider and create either an
ALIAS,ANAME, orArecord. You can also createAAAArecords for IPv6 support. If you’re implementing IPv6 support, we highly recommend using anArecord in addition to yourAAAArecord, due to slow adoption of IPv6 globally. For more information about how to create the correct record, see your DNS provider’s documentation.