GitHub Pages

Toucan-based websites can be hosted for free using GitHub Pages. Follow these steps to set up your site.
Setting Up SSH Keys for GitHub Access (If You Don’t Have Keys Already)
If you do not have SSH keys already, you need to create one to securely connect to GitHub repositories. Make sure to use the email address associated with your GitHub account during this process. Here’s how to set it up:
- Open Terminal:
- Generate SSH Key:
ssh-keygen -t ed25519 -C "your_email@example.com"- Replace your_email@example.com with the email you use to log into GitHub.
- Press Enter to accept the default file location.
- Set a password (optional) or press Enter for none.
- Add SSH Key to SSH Agent:
eval "$(ssh-agent -s)" ssh-add ~/.ssh/id_ed25519 - Copy SSH Key:
cat ~/.ssh/id_ed25519.pub- Copy the output (this is your public SSH key).
- Add SSH Key to GitHub:
- Go to GitHub > Settings > SSH and GPG Keys.
- Click New SSH Key, give it a title, paste your copied SSH key, and click Add SSH Key.
- Test the Connection:
ssh -T git@github.com- If everything is set up correctly, you’ll see a message like:
Hi username! You've successfully authenticated, but GitHub does not provide shell access.
You’re now ready to clone, pull, and push repositories using SSH!
Creating a repository for your site
You can either create a repository or choose an existing repository for your site.
If you want to create a GitHub Pages site for a repository where not all of the files in the repository are related to the site, you will be able to configure a publishing source for your site. For example, you can have a dedicated branch and folder to hold your site source files, or you can use a custom GitHub Actions workflow to build and deploy your site source files.
If the account that owns the repository uses GitHub Free or GitHub Free for organizations, the repository must be public.
If you want to create a site in an existing repository, skip to the Creating your site section.
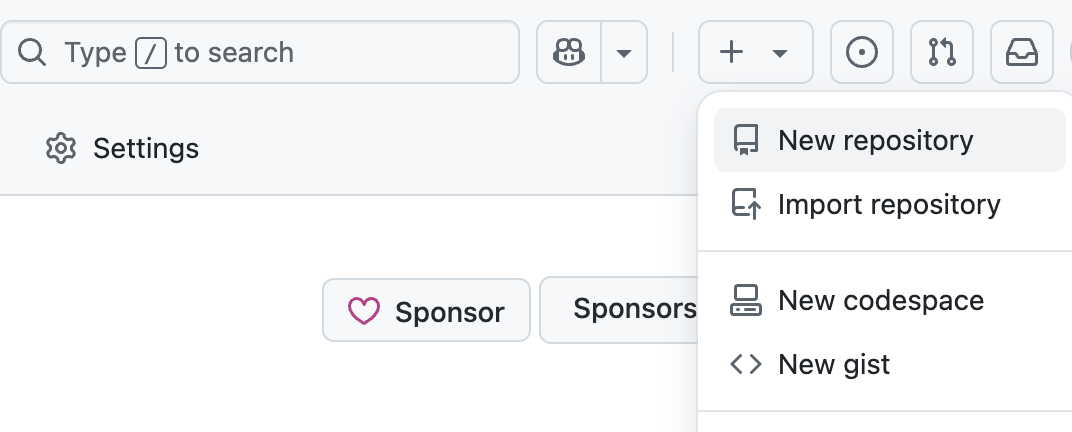
- In the upper-right corner of any page, select + , then click New repository.
- Use the Owner dropdown menu to select the account you want to own the repository.
 user.github.io or organization.github.io
 - Type a name for your repository and an optional description. If you’re creating a user or organization site, your repository must be named user.github.io or organization.github.io. If your user or organization name contains uppercase letters, you must lowercase the letters. For more information, see About GitHub Pages.
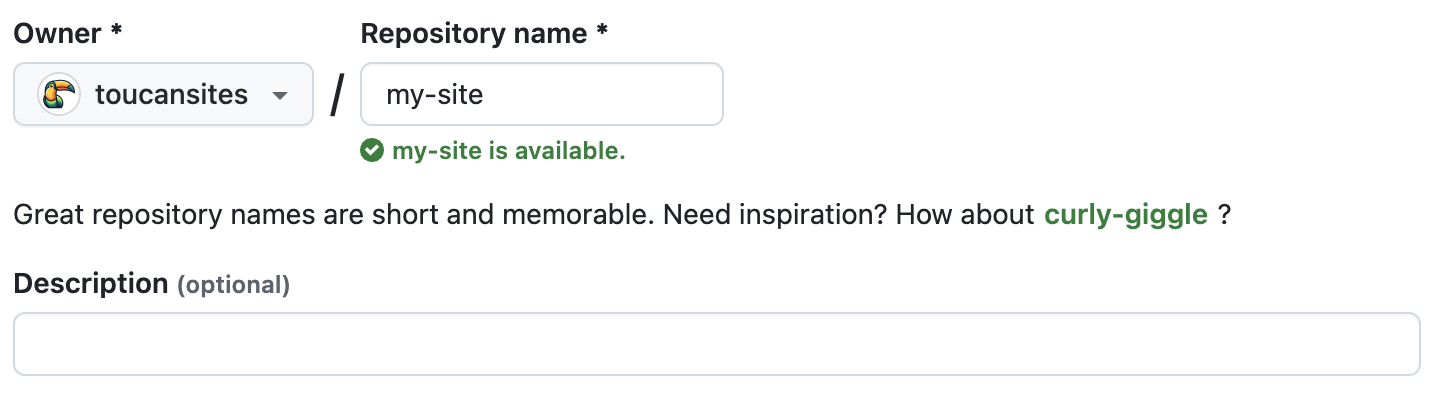
- For the repository visibility, choose public. For more information, see About repositories.
- Select Initialize this repository with a README.
- Click Create repository.
Add content to the repository
- Clone the Repository locally to your computer, if not already done:
git clone https://github.com/your-username/your-repository.git - Update base url
When deploying to GitHub Pages, you need to update the baseUrl field in the configuration file, which is location in src/contens/site.yml:
Depending on your deployment setup, update baseUrl as follows:baseUrl: "http://localhost:3000/"- GitHub Pages (username/repo path):
baseUrl: "https://yourusername.github.io/repository-name/" - Custom Domain (e.g., example.com):
baseUrl: "https://example.com/"
- GitHub Pages (username/repo path):
- Navigate to the local repository folder and copy the src folder with all the content.
Use the generator’s serve command:
After succesfull generation all the data is generated inside the docs folder by Toucan.toucan generate - Push all the content to GitHub, add and commit files:
git add .
git commit -m "Add generated site content"
git push origin main
Creating your site
Before you can create your site, you must have a repository for your site on GitHub. If you’re not creating your site in an existing repository, see Creating a repository for your site.
- On GitHub, navigate to your site’s repository.
- Under your repository name, click Settings. If you cannot see the Settings tab, select the … dropdown menu, then click Settings.
- In the Code and automation section of the sidebar, click Pages.
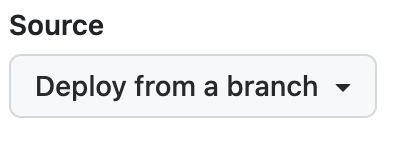
- Under Source, leave the option Deploy from a branch.
- Under Branch:
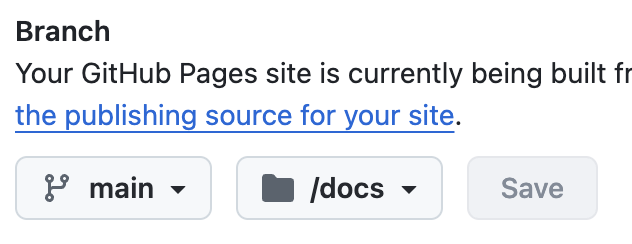
- Select the branch where you committed your files (e.g., main).
- Choose the /docs folder as the source.
- Click Save.
- Check the published site, GitHub will provide a public URL for your site, such as:
https://your-username.github.io/my-github-page/
Managing a custom domain
You can set up or update certain DNS records and your repository settings to point the default domain for your GitHub Pages site to a custom domain.
- On GitHub, navigate to your site’s repository.
- Under your repository name, click Settings. If you cannot see the Settings tab, select the … dropdown menu, then click Settings.
- In the Code and automation section of the sidebar, click Pages.
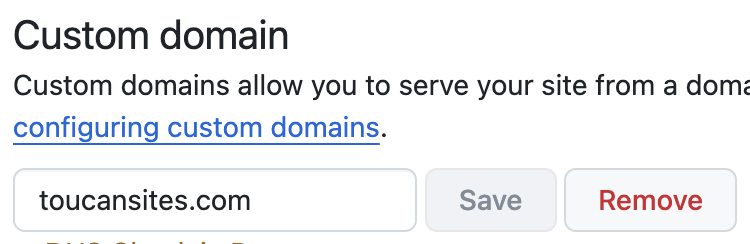
- Under Custom domain, type your custom domain, then click Save. If you are publishing your site from a branch, this will create a commit that adds a CNAME file directly to the root of your source branch. If you are publishing your site with a custom GitHub Actions workflow, no CNAME file is created, so you need to create one manually (containing only a line of text with your custom domain).
- Navigate to your DNS provider (e.g., Namecheap, GoDaddy, Cloudflare) and update the DNS records.For Apex Domains (e.g., example.com), set up an A record pointing to GitHub’s IP addresses:
For Subdomains (e.g., www.example.com), set up a CNAME record pointing to:185.199.108.153 185.199.109.153 185.199.110.153 185.199.111.153
(Replace “username” with your GitHub username)username.github.io - Enforce HTTPS (Optional but Recommended)
- After DNS propagation (may take a few minutes to 24 hours), go back to GitHub Pages settings.
- Ensure Enforce HTTPS is enabled